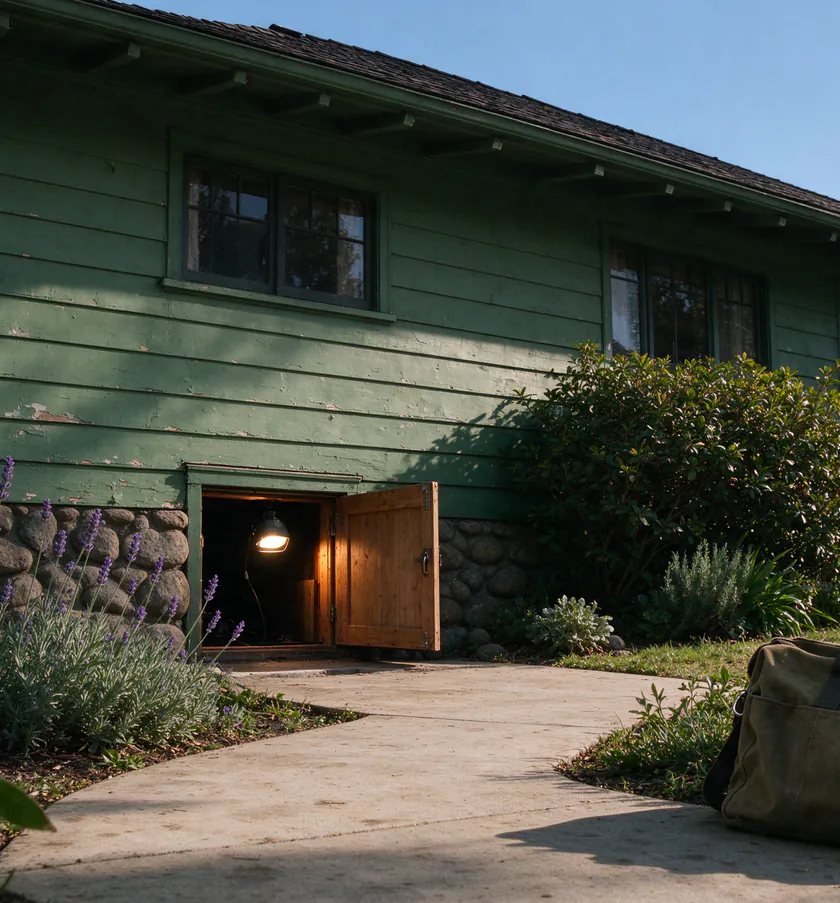
LA Knob and Tube replaces knob and tube wiring in Los Angeles, Pasadena, Glendale and South Pasadena. This post shows what a knob and tube replacement job looks like from start to finish, using an illustrative house rather than a real customer’s.
The house
The illustrative house is a one-story bungalow of about 1,200 square feet, built in the 1920s in a Northeast LA neighborhood. It sits on a raised wood floor over a crawlspace with comfortable clearance, and has an open attic with a pull-down hatch in the hallway. The walls are plaster on wood lath. The kitchen was remodeled decades ago, and a breaker panel of about 100 amps replaced the original fuse box at some point. The owners live in the house.
The trigger
The owners’ insurer, at renewal, asks for a description of the electrical system and whether knob and tube is still in use. They have seen porcelain knobs in the attic and do not know how much of it is live. That is the most useful question to start with, and the California insurance guide explains why the carrier’s exact requirement should be asked for in writing before the scope is set.
The first visit: a circuit map
The visit starts at the panel, counting circuits and noting how each one is protected. In the attic, the electrician traces the visible knob and tube runs along the ceiling joists and notes where later cable was spliced into them. In the crawlspace, runs on the floor joists feed the outlets above. Then each outlet and light is matched to its circuit.
In this illustration, the map shows that the kitchen and one bathroom were rewired in the remodel, but the living room, dining room, both bedrooms, the hallway and most ceiling lights still run on knob and tube, along with a back porch light. Two bedroom outlets have been changed to three-prong outlets with no ground behind them. There is no insulation over the attic runs yet, which the owners want to add.
The same visit measures access: crawlspace height along each wall, attic clearance, where the second bathroom wall has no open space above or below, and a header over a wide opening between living and dining rooms that a route would have to cross. The knob and tube inspection page describes this visit in more detail.
The plan and the quote
The map becomes a plan. The remaining knob and tube circuits are replaced, and new ones are added: separate circuits for the bedrooms, more outlets in the living room so extension cords are no longer needed, and a dedicated circuit where a window air conditioner sits. Because the panel is full and the plan adds circuits, a panel upgrade to 200 amps in the same location is part of the scope, which brings in LADWP to verify the meter spot.
The quote lists the circuits replaced and added, the panel work, each planned opening and who patches it, the permit, and what happens to the old runs. The rewiring quote checklist shows what each of those lines should say.
As a rough illustration of budget, applying the typical LA-area range of $10 to $20 per square foot to 1,200 square feet gives $12,000 to $24,000 for the wiring, before patching. A 100 to 200 amp panel upgrade in the same location typically adds $2,500 to $5,500 in the LA area. These are illustrations from published ranges, not a quote; the Los Angeles cost guide explains the factors.
Permit and preparation
The house is in the City of LA, so the electrical permit comes from LADBS as an express permit, without plan check. Before work starts, the owners clear the walls where openings are planned, empty the hallway closet under the attic hatch, and list what cannot lose power: the refrigerator and a home office.
The work, circuit by circuit
The panel goes in early, on a day the owners spend away from home, so the new circuits can land on new breakers. The old circuits are moved over on breakers sized for the old wire until they are replaced.
Then the circuits are replaced in sequence. For first-floor outlets, new cable runs along the floor joists in the crawlspace and comes up through the bottom plate of each wall into a new box. For ceiling lights and switches, cable comes down from the attic through the top plate. Each day, only the circuits being worked on are off.
Openings in this illustration fall where the plan said they would: at a few boxes that cannot be reached from either side, at the header between living and dining rooms, and along the bathroom wall with no open space above or below. In a pre-1978 house, each one is opened with lead-safe practices, which the lead and asbestos guide explains.
As each new circuit is energized, the knob and tube run it replaces is disconnected at both ends and confirmed dead with a tester. The accessible attic runs are removed, because insulation is going in next; runs inside closed walls are left in place, dead. The removal page explains that choice.
Inspections
With openings still open, the new circuits are tested for polarity, ground continuity and AFCI and GFCI function, and the LADBS inspector does the rough inspection. Once it is approved, the openings can be closed. The final inspection follows with devices installed and the panel directory labeled.
Patching and handover
The plaster openings are patched in coats, then textured and painted as the quote described. At the end, the owners have a labeled panel, the permit with its final inspection, and a written statement that no live knob and tube remains in the house. That is what they send to their insurer, and it is what lets the attic be insulated without the conditions California’s code sets for insulating over knob and tube, covered on the attic insulation page.
Where a real house would differ
A real house could change any part of this. A shallow crawlspace moves outlet routes into the walls. A second story adds routes through closets. A house where more of the system was already rewired might be a partial replacement instead, with a written list of circuits that stay. The replacement process guide covers those branch points, and living at home during a rewire covers the day-to-day. When you want your own house mapped, call or request an estimate.